Defining General Properties for Schedules
The General tab is shown when the Schedule
Prerequisites: The 'Schedules', 'Create Schedules', 'Edit Schedules' and 'Make Schedules Active/ inactive' role functions must be enabled.
To use the General tab:
- Open the Schedule
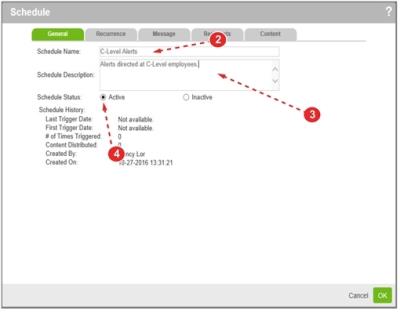
- Enter up to 100 characters for the Schedule Name.
- Enter a Schedule Description, if desired.
- Choose a Schedule Status:
- Active – turns the schedule on to generate the reports, file interchange jobs or alert notification messages as defined on the Content tab.
- Inactive – keeps the schedule in a dormant state while you configure the timing, message, recipient and content details.
- See other Schedule